
What “validated” means
A polished box, familiar brand, Bluetooth connection, or thousands of reviews can tell you about convenience and popularity. None of those details establishes clinical accuracy. Validation asks a narrower question: when this device is tested against a reference method under an accepted protocol, does it meet defined accuracy criteria? ValidateBP is the U.S. Blood Pressure Validated Device Listing, or VDL, created to help clinicians and consumers identify devices that have passed an independent documentation review.
For a device to appear, ValidateBP says it must meet listing criteria that include active FDA 510(k) clearance, independent validation testing under an accepted protocol, and cuffs tested and available for the intended population. An Independent Review Committee makes the listing decision. Appearance on the site means the exact listed device met the VDL criteria; it is not a general endorsement of the manufacturer or every product it sells.
That exactness matters. Two monitors may share a series name while carrying different model numbers, cuff ranges, or validation evidence. Start with the model identifier rather than the marketing name. Find it on the monitor, package, instruction manual, manufacturer page, or retailer specifications. Copy all letters, numbers, and hyphens. Your goal is a one-to-one match between the device you may buy or already own and the device shown on ValidateBP.
- Validation is different from popularity, FDA clearance alone, or having advanced features.
- Confirm the exact model—not merely the brand or product series.
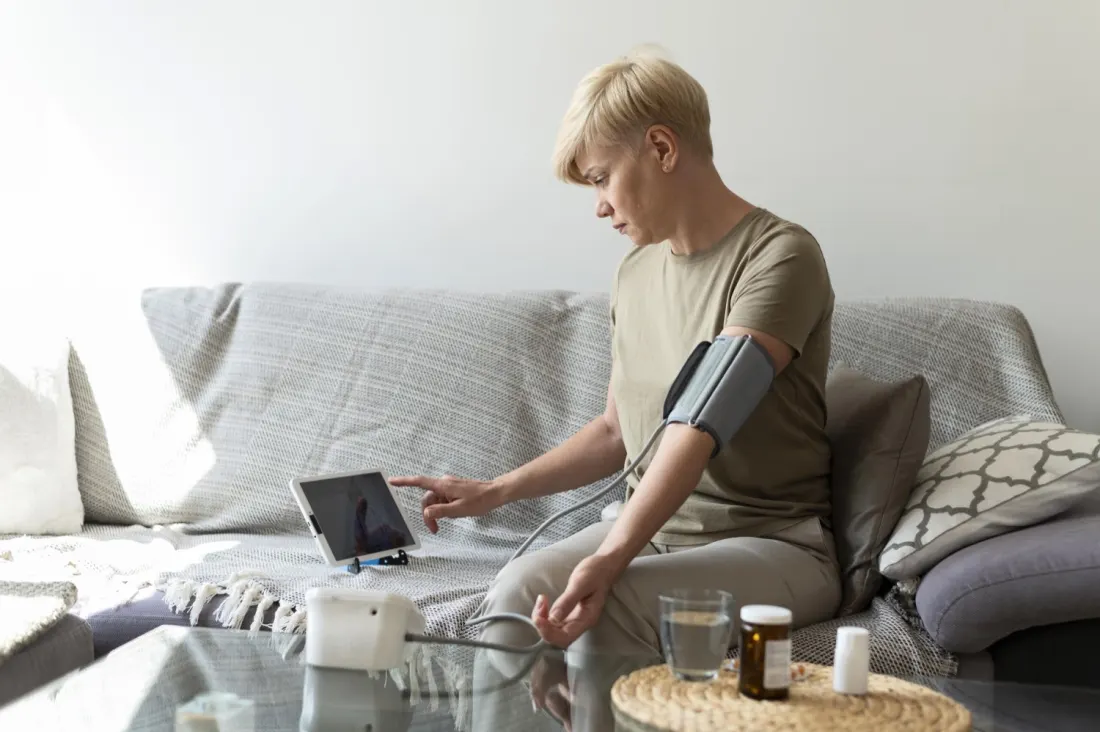
For most people measuring at home, the American Heart Association recommends an automatic monitor with a cuff that wraps around the upper arm.
How to search ValidateBP step by step
Go to the ValidateBP device listing and choose the device category that matches what you are checking. For ordinary home use, look for a home device, usually an automatic upper-arm monitor. The site also includes devices intended for office, ambulatory, kiosk, remote patient monitoring, and wrist use, so a search result is not automatically the right type for your situation.
Enter the brand or exact model number in the search field. Model number is the stronger identifier. Compare the result with the label or product page character by character, including suffixes. Do not treat a near match, an older model, or another monitor in the same series as confirmation. If you are shopping online, check that the seller is actually shipping the listed model; photos, page titles, and variant selectors can conflict.
Open the individual result rather than stopping at the search grid. The detail page can show the brand, full product name and model, device type, population served, cuff information, connectivity, and the validation protocol cited by the listing. Save the listing link or a screenshot with your purchase notes so you can recheck the delivered device.
If the exact model does not appear, clear filters and search again using fewer characters, then try the brand. Recheck common look-alikes such as zero versus the letter O. If there is still no exact match, treat the list as unable to confirm that device and consider a different listed model or ask a clinician or pharmacist for help.
- Copy the model number directly from the device, packaging, or official specifications.
- Open the complete listing and compare every identifier before buying.
How to read the device listing
A listing contains several separate checks. First, confirm “Device Type.” A home monitor is designed for self-measurement; an office, kiosk, ambulatory, or remote-monitoring device serves a different workflow. Second, read “Population Served.” A general-adult listing does not establish validation for pregnancy or children. The American Heart Association specifically advises choosing a monitor validated for the intended user when buying for a pregnant person, child, or older adult. Special circumstances deserve clinician input rather than assumptions from a brand name.
Third, inspect the cuff details. ValidateBP listings display the arm or wrist circumference range in centimeters and may name available cuff categories. That range must include the intended user’s measured circumference. A device may be validated yet still be a poor match if the compatible cuff does not fit.
Fourth, note the named validation protocol. You do not need to interpret every standard number. Its presence shows which accepted protocol supports the listing; the VDL committee reviewed the submitted documentation against its criteria. FDA clearance and clinical validation are related but distinct parts of those criteria, so a retailer’s “FDA cleared” language alone is not the same as appearing on the VDL.
Finally, treat connectivity, price symbols, memory, or app support as practical features, not accuracy evidence. They may help you record and share readings, but they cannot correct a model mismatch, unsuitable population, wrong cuff, or poor measuring technique. Choose among validated, correctly fitting devices based on the features you will actually use.
- Check device type, population served, cuff range, and validation protocol.
- Treat app connectivity and memory as conveniences rather than proof of accuracy.
Check cuff fit and monitor type
For most people measuring at home, the American Heart Association recommends an automatic monitor with a cuff that wraps around the upper arm. It advises against finger monitors and says wrist monitors generally give less reliable readings. ValidateBP adds an important nuance: a validated wrist device may be reasonable for certain clinical needs, including when an appropriate upper-arm cuff is unavailable or cannot be used. Wrist measurement is particularly sensitive to placement, movement, wrist flexion, and keeping the device at heart level, so involve a clinician when deciding whether it fits your circumstances.
Cuff size is not a comfort detail. Measure your arm as the device manufacturer directs, then compare the result with the centimeter range for the exact cuff and model. Do not assume a cuff labeled “standard,” “wide range,” or “universal” fits without checking the numbers. A randomized crossover trial in JAMA Internal Medicine found that using a regular cuff when a smaller or larger cuff was appropriate produced inaccurate readings; the direction and size of error depended on the mismatch.
If your arm circumference changes during weight loss, including while using a GLP-1 medication, measure again and confirm that you remain within the cuff’s stated range. This does not automatically mean you need a new monitor: the manufacturer may offer another cuff specifically compatible with that validated model. Do not substitute a third-party cuff unless the device manufacturer confirms compatibility. Bring the monitor and cuff to an appointment if fit is uncertain.
- Measure circumference and compare it with the cuff’s stated centimeter range.
- Remeasure after a substantial change in arm size.
Use a validated monitor correctly
Validation cannot compensate for rushed or inconsistent technique. The American Heart Association’s home-monitoring instructions provide a repeatable routine. For 30 minutes beforehand, avoid smoking, caffeine, and exercise, and empty your bladder. Put the cuff on bare skin rather than over a sleeve. Sit in a chair with your back supported, feet flat, and legs uncrossed. Rest quietly for at least five minutes. Support your arm on a flat surface so the middle of the cuff is at heart level. Do not talk, text, or move while the monitor is measuring.
Follow the manufacturer’s placement diagram because cuff orientation varies by model. Measure at a consistent time according to the plan you made with your clinician. The AHA advises taking two readings one minute apart and recording both. A log or device memory is more useful than relying on one isolated number because it shows the pattern over time. Home readings can support diagnosis and ongoing care, but the USPSTF and AHA both place them within clinical follow-up rather than treating the monitor as a stand-alone diagnostic tool.
Take the monitor to a medical appointment after purchase. Ask the clinician to watch your technique, confirm cuff fit, and compare your readings with office equipment. The AHA also advises bringing it back about once a year or as directed by the manufacturer. If readings suddenly seem implausible, repeat the measurement after checking setup and technique, then contact your care team rather than recalibrating or changing treatment on your own.
- Rest quietly for at least five minutes and keep the supported arm at heart level.
- Take two readings one minute apart and record both.
Understand the readings and warning signs
A validated monitor produces measurements; it does not diagnose you or decide treatment. For adults, current ACC/AHA categories used by the CDC and AHA define normal as systolic under 120 and diastolic under 80 mm Hg. Elevated is systolic 120–129 with diastolic under 80. Stage 1 hypertension is systolic 130–139 or diastolic 80–89. Stage 2 is systolic 140 or higher or diastolic 90 or higher. When the two numbers fall in different categories, the higher category applies.
One reading is a snapshot. Stress, recent activity, caffeine, smoking, body position, a full bladder, cuff fit, and movement can affect it. Record results under consistent conditions and let a licensed clinician interpret the pattern in the context of your health, medications, and treatment goals. Do not stop blood pressure medication or change a GLP-1, diet, exercise, supplement, or other care plan because of a home reading without professional guidance.
Know your urgent plan before you need it. The AHA says that if a reading is higher than 180 systolic and/or higher than 120 diastolic, wait at least one minute and measure again. If it remains that high without new concerning symptoms, contact a health care professional as soon as possible. If it is higher than 180/120 and you have chest pain, shortness of breath, back pain, numbness, weakness, vision change, difficulty speaking, or another new concerning symptom, call 911. Pregnancy requires its own clinician-directed thresholds and response plan.
- Use patterns of properly collected readings—not one number—for routine discussions with your clinician.
- Call 911 for a reading above 180/120 accompanied by concerning symptoms.
Common questions
What does it mean if my exact monitor is not on ValidateBP?
It means ValidateBP is not confirming that model. According to the site, an absent device may not have been submitted or may still be under review, so absence does not by itself prove inaccuracy. Recheck the model number and filters, then consider another listed monitor or ask a clinician or pharmacist.
Can a wrist monitor still be validated?
Yes. ValidateBP includes validated wrist devices, although the AHA generally prefers automatic upper-arm monitors for home use. A wrist device may be considered when an appropriate upper-arm cuff cannot be used, but positioning at heart level and limiting movement or wrist flexion are especially important.
Do I need a different cuff after losing weight?
Not automatically. Remeasure your arm using the manufacturer’s instructions and compare it with the cuff range for your exact model. If your measurement falls outside that range, ask the manufacturer or a clinician whether a compatible cuff or different validated monitor is appropriate.
This content is for general education and does not provide medical advice, diagnosis, or treatment. Ask a licensed clinician how to monitor your blood pressure and when particular readings or symptoms require medical care.